"Where Furniture and Leisure Come Together to Make Life Better"
Search
Register
Log In
Questions? Call an expert:
1-800-213-2401
Menu
Close
All Categories
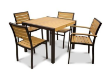
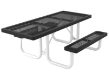
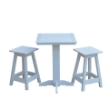
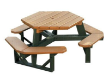
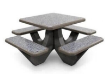
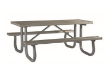
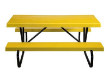
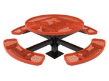
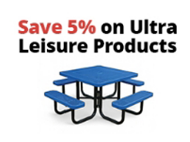
Picnic Tables
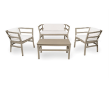
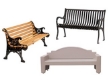
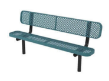
Benches
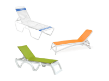
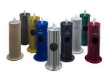
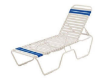
Pool Furniture
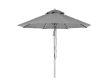
Umbrellas
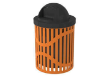
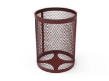
Trash Cans
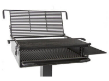
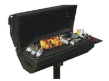
Park Grills
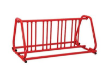
Bike Racks
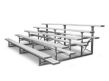
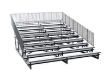
Bleachers
Quick Ship
Restaurant Furniture
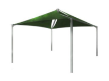
Shades
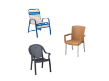
Outdoor Seating Furniture
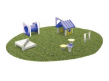
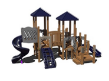
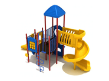
Park & Playground
Dog Park Equipment
ADA Commercial Furniture
Commercial Planters
Concrete Bollards
Bistro Patio Furniture
RHINO Outdoor Furniture
ELITE Outdoor Furniture
Sale
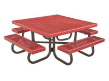
Picnic Tables
Metal - Thermoplastic
Wood
Recycled Plastic
Concrete
Aluminum
Fiberglass
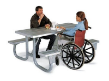
Wheelchair Accessible
Kid Size
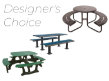
Designer's Choice Picnic Tables
Frame Kits & Accessories
Benches
Metal & Thermoplastic
Wooden
Recycled Plastic
Concrete
Aluminum
Fiberglass
Buddy Benches
Custom & Memorial
Child Size
Designer's Choice
Park Benches
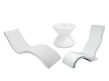
Pool Furniture
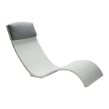
Chaise Lounges
Poolside Chairs
Poolside Tables
In-Pool Furniture
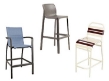
Bar & Counter Height Chairs
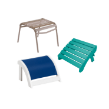
Ottomans
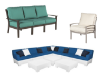
Outdoor Patio Furniture
Shop By Material
Our Brands
Pool Furniture Collections
Pool Accessories
Luxury Pool Furniture
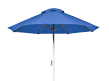
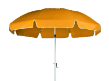
Umbrellas
Market
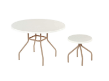
Patio
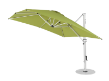
Cantilever
Cabana
Beach Umbrellas
Fiberglass Top
Bases
Shades
Hip Ends
Umbrellas
Cantilevers
Sails
Metal Tops
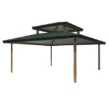
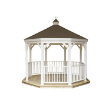
Gazebos
Playground Modulars
Trash Cans
Steel
Plastic
Wooden
Recycled Plastic
Concrete
Custom Logo
Cigarette Receptacles
Recycling Receptacles
Accessories & Liners
Pet Waste Stations
Gas Station
Indoor
Sanitation Stations
Park Grills
Pedestal Park Grills
Large Park Grills
Covered Park Grills
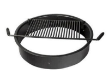
Fire Rings
Grill Accessories
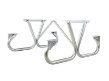
Bike Racks
Loop Bike Racks
Grid Bike Rack
Circle Bike Racks
Low Profile Bike Racks
Custom Bike Racks
Bleachers
2 to 5 Rows
Stadium Edition
Portable and Towable
Park & Playground
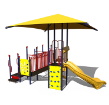
Playground Equipment
Fitness Equipment
Park Signs
Bollards
Drinking Fountain
Outdoor Classroom Furniture
Quick Ship
Picnic Tables
Benches
Trash Cans
Pool Furniture
Umbrellas
Grills
Playground Equipment
Sale
Clearance
Thermoplastic Furniture
Blog
Menu
All Categories
Back
Picnic Tables
Benches
Pool Furniture
Umbrellas
Trash Cans
Park Grills
Bike Racks
Bleachers
Quick Ship
Restaurant Furniture
Shades
Outdoor Seating Furniture
Park & Playground
Dog Park Equipment
ADA Commercial Furniture
Commercial Planters
Concrete Bollards
Bistro Patio Furniture
RHINO Outdoor Furniture
ELITE Outdoor Furniture
Sale
Picnic Tables
Back
Metal - Thermoplastic
Wood
Recycled Plastic
Concrete
Aluminum
Fiberglass
Wheelchair Accessible
Kid Size
Designer's Choice Picnic Tables
Frame Kits & Accessories
Benches
Back
Metal & Thermoplastic
Wooden
Recycled Plastic
Concrete
Aluminum
Fiberglass
Buddy Benches
Custom & Memorial
Child Size
Designer's Choice
Park Benches
Pool Furniture
Back
Chaise Lounges
Poolside Chairs
Poolside Tables
In-Pool Furniture
Bar & Counter Height Chairs
Ottomans
Outdoor Patio Furniture
Shop By Material
Our Brands
Pool Furniture Collections
Pool Accessories
Luxury Pool Furniture
Umbrellas
Back
Market
Patio
Cantilever
Cabana
Beach Umbrellas
Fiberglass Top
Bases
Shades
Back
Hip Ends
Umbrellas
Cantilevers
Sails
Metal Tops
Gazebos
Playground Modulars
Trash Cans
Back
Steel
Plastic
Wooden
Recycled Plastic
Concrete
Custom Logo
Cigarette Receptacles
Recycling Receptacles
Accessories & Liners
Pet Waste Stations
Gas Station
Indoor
Sanitation Stations
Park Grills
Back
Pedestal Park Grills
Large Park Grills
Covered Park Grills
Fire Rings
Grill Accessories
Bike Racks
Back
Loop Bike Racks
Grid Bike Rack
Circle Bike Racks
Low Profile Bike Racks
Custom Bike Racks
Bleachers
Back
2 to 5 Rows
Stadium Edition
Portable and Towable
Park & Playground
Back
Playground Equipment
Fitness Equipment
Park Signs
Bollards
Drinking Fountain
Outdoor Classroom Furniture
Quick Ship
Back
Picnic Tables
Benches
Trash Cans
Pool Furniture
Umbrellas
Grills
Playground Equipment
Sale
Back
Clearance
Thermoplastic Furniture
Blog
My Account
Register
Log In
Quote Request
(0)
items
You have no items in your shopping cart.
Questions? Call an expert:
1-800-213-2401
Menu
Search
My Account
Register
Log In
Quote Request
Cart
0
Filters
RSS
Blog posts tagged with 'best practices for installing concrete bollards'
Blog search
Search
Blog archive
2026
February (2)
January (1)
2025
July (1)
April (1)
February (1)
January (2)
2024
July (1)
May (1)
March (1)
February (2)
January (24)
2023
December (10)
November (1)
September (1)
August (1)
June (2)
May (9)
April (1)
February (1)
January (1)
2022
December (1)
November (1)
October (1)
September (1)
July (2)
February (1)
2021
September (1)
2020
September (1)
May (1)
April (1)
March (1)
February (1)
2019
November (2)
October (1)
2018
October (1)
May (1)
February (1)
2017
December (1)
November (2)
October (2)
July (1)
April (1)
Popular blog tags
a perfect pair: commercial shade structures and playground equipment
best practices for installing park benches
bike rack buyer's guide
bike rack information
bollard information
commercial outdoor bench information
commercial pool furniture information
commercial restaurant furniture information
commercial trash can information
custom commercial outdoor furniture information
different types of commercial bike racks
durability of concrete bollards
furniture leisure news and events
how to lock bike on bike rack
importance of bike racks in modern cities
keep your cool with metal shade structures
legal and zoning for installing bike racks
maintenance tips for keeping bike racks
outdoor fitness equipment information
park playground equipment information
promoting sustainable urban transport
restaurant furniture and café furniture
retrofitting existing spaces with bike racks
shade structures information
three ways to keep your outdoor trash cans odor-free and clean